01Add a property
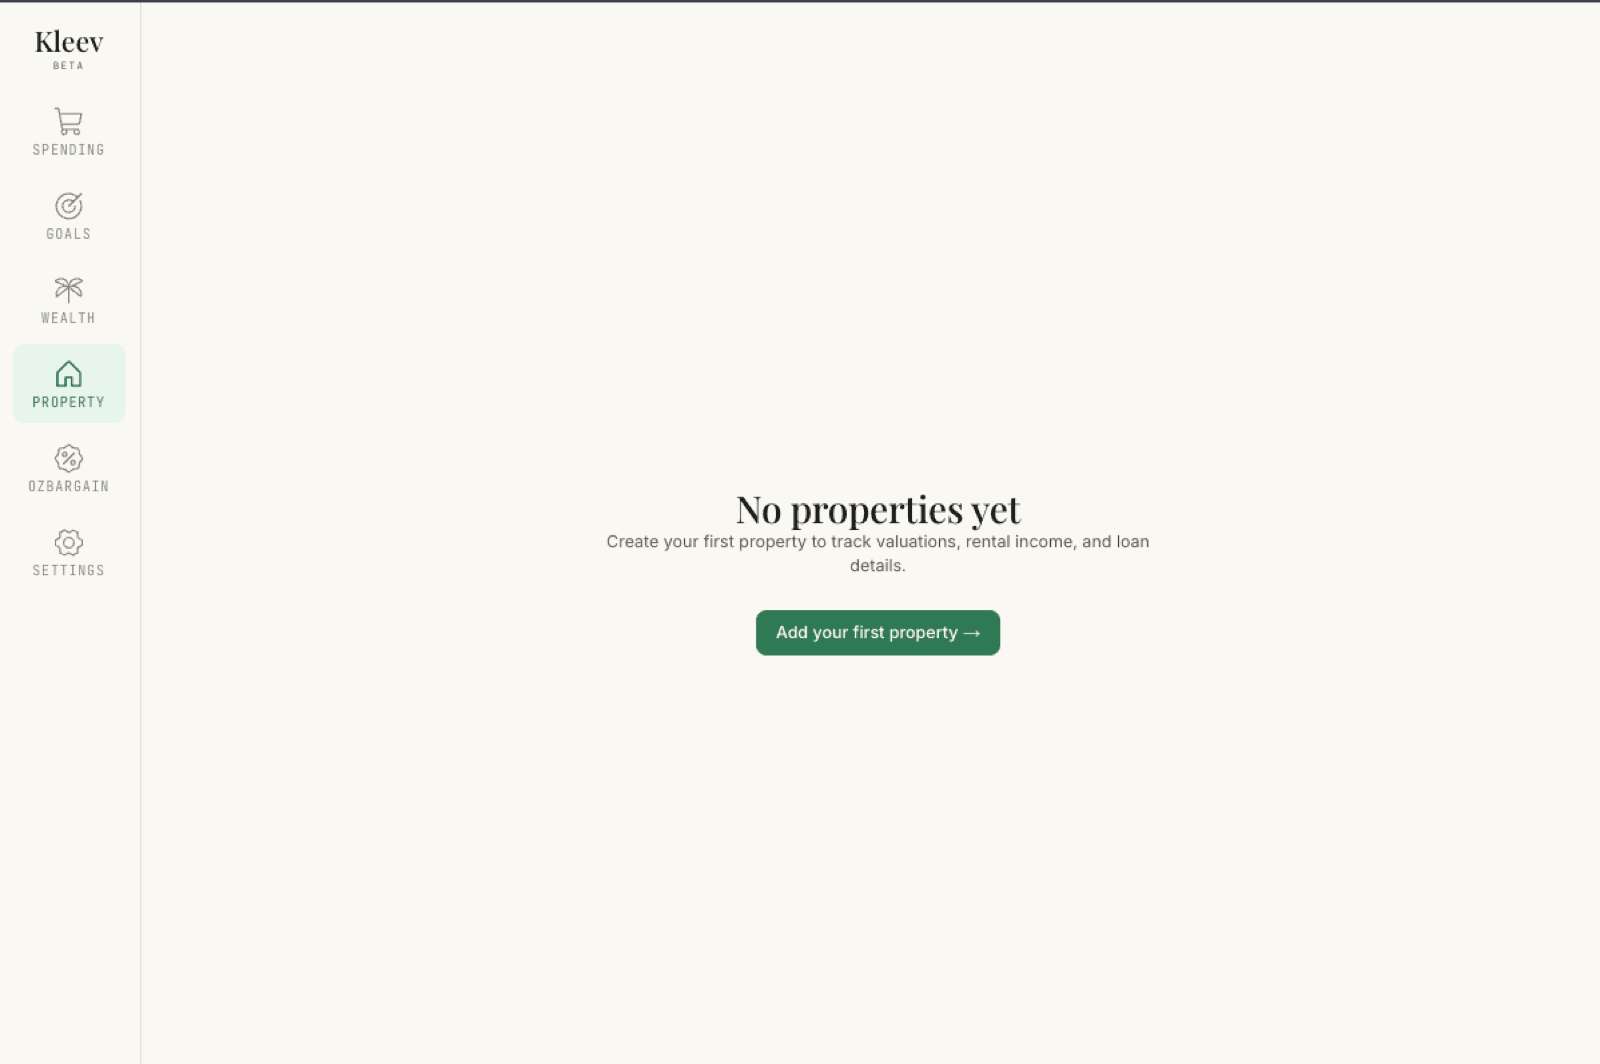
The first time you open the Property section it’s empty: a No properties yet page inviting you to create your first property to track valuations, rental income, and loan details. Click Add your first property → (once you have one, the same form lives behind + Add property in the header).
The form has three parts: the mandatory basics, an optional purchase-costs section, and optional details.
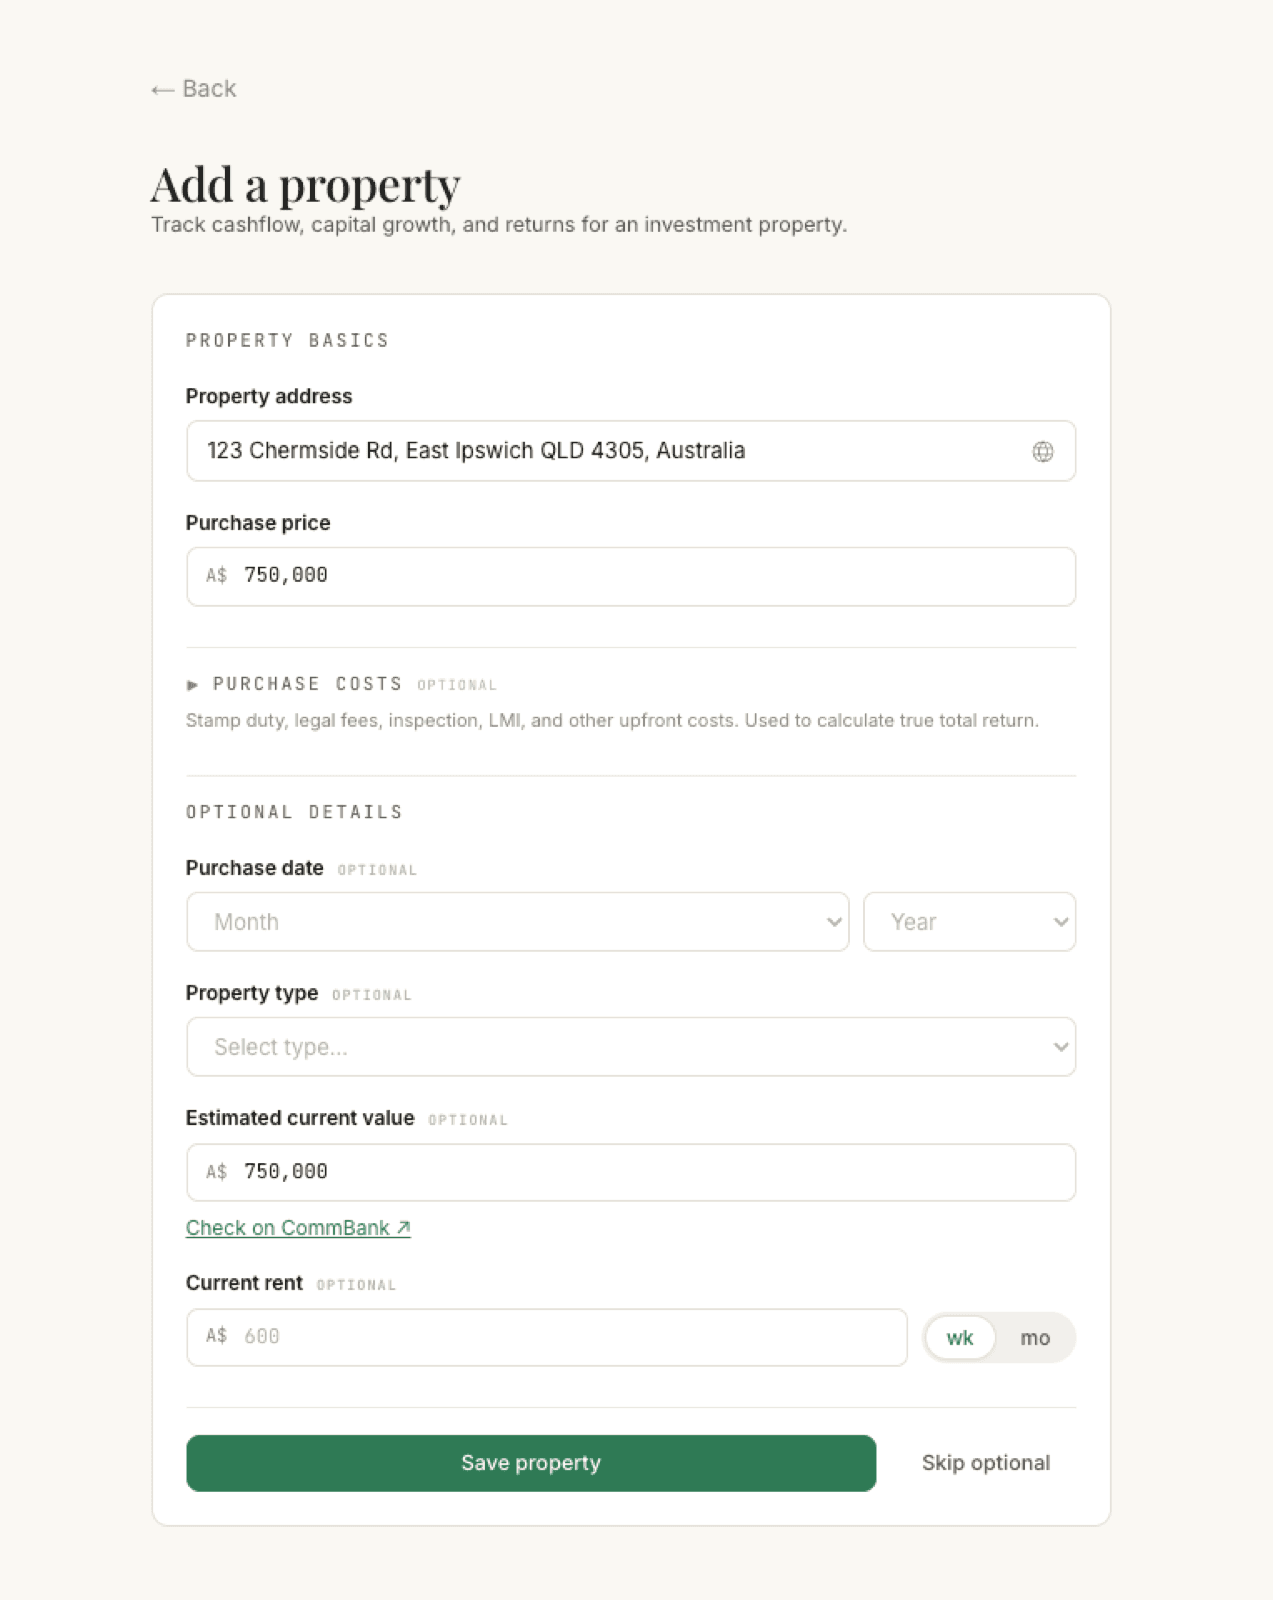
Only two fields are required:
- Property address — start typing and pick the address from the suggestions.
- Purchase price — what you paid for the property.
If that’s all you have time for, click Skip optional to save with just these two and move on.
02Purchase costs (optional)
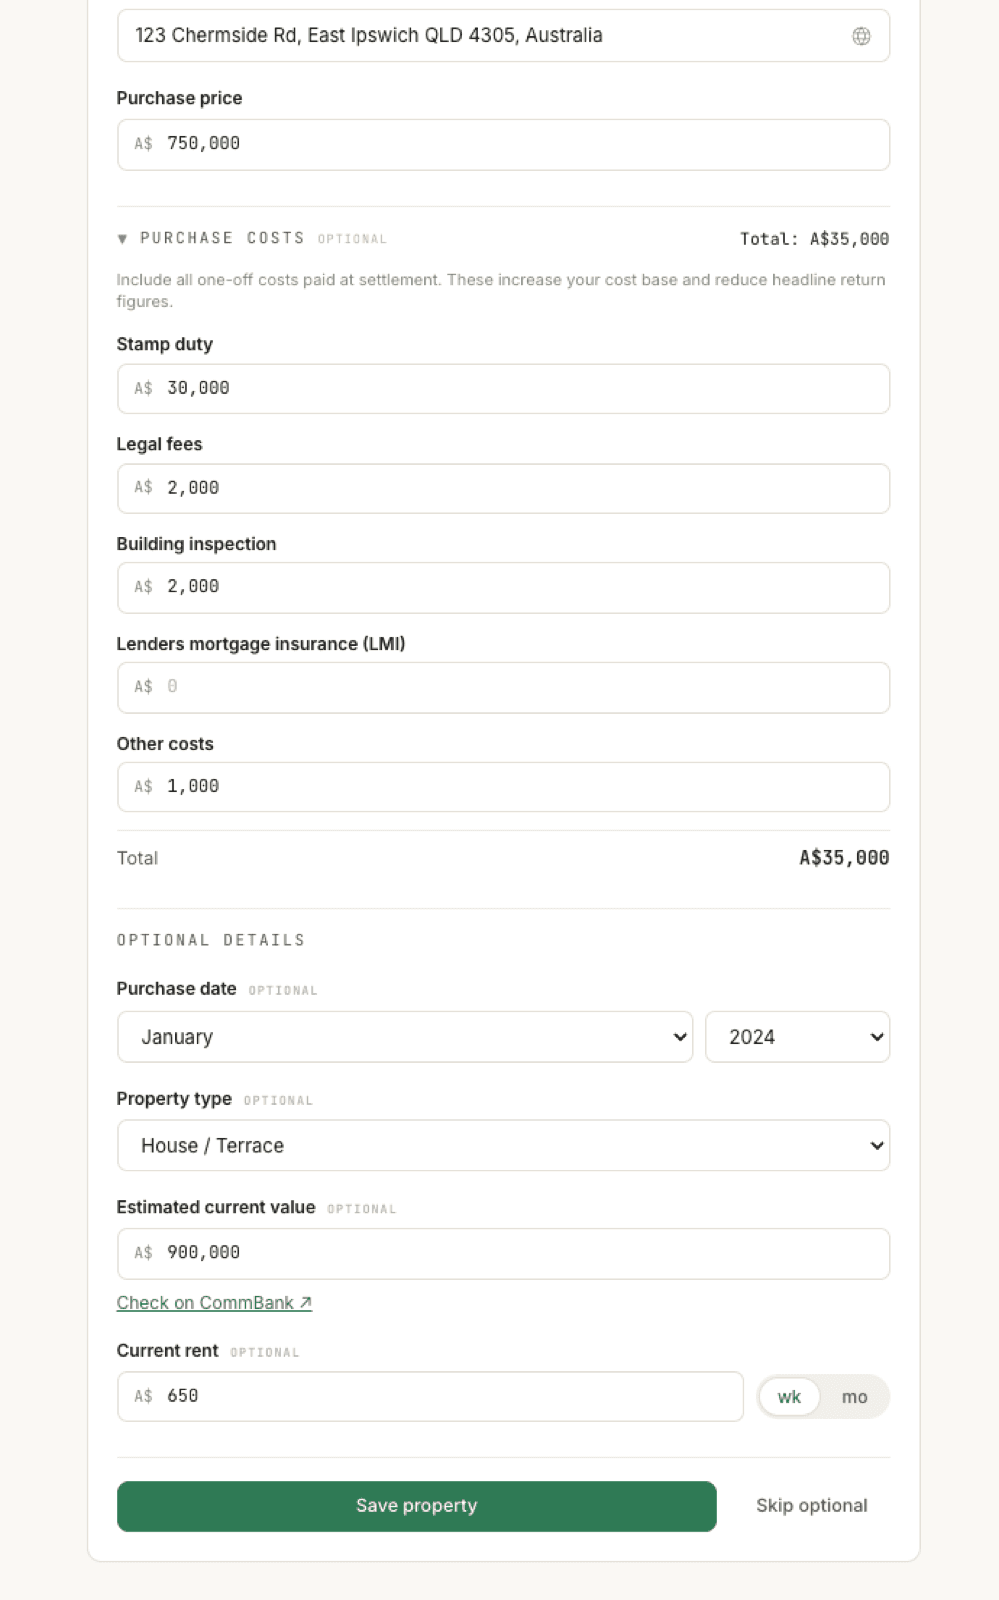
Click the ▶ Purchase costs heading to expand it — while it’s collapsed, a one-line hint summarises what belongs here. These are the one-off costs you paid at settlement:
- Stamp duty
- Legal fees
- Building inspection
- Lenders mortgage insurance (LMI)
- Other costs
A running total appears as you type — inside the section and up on the heading row, so it stays visible even when you collapse it again. Kleev adds these to your cost base, so your return figures reflect what the property truly cost you — not just the headline price.
03Optional details
- Purchase date — month and year. Used to anchor capital growth and the statement grid’s history.
- Property type — house/terrace, apartment, townhouse, commercial, or other.
- Estimated current value — defaults to the purchase price; update it with a recent estimate. There’s a handy Check on CommBank ↗ link if you need a free valuation source. This value drives your equity and loan-to-value figures.
- Current rent — the amount plus whether it’s per week (wk) or per month (mo). Kleev uses this for yield, cashflow, and as the rental income line in the statement grid.
All four are filled in the screenshot above — January 2024, House / Terrace, a 900,000 estimate against the 750,000 price, and 650/wk rent.
04Save and continue
Click Save property. You land on the property’s overview page, with the setup trail pointing at the next step: loan details.
05What you’ll see when you save
The dashboard starts working with whatever you gave it. Across the top, a Profile completeness banner sits at 20% — basics done, four steps to go — reading Step 2/5: Add loan with a Next: Add loan → button that takes you straight there.
- Capital growth is computed immediately from your purchase price against the estimated current value, with the gain in dollars and % p.a. With no loan recorded yet, the equity bar shows Your equity at the full value — 100% owned.
- Rental yield — gross to net — comes straight from the rent you entered, and Gearing already has an answer for the same reason.
- Tax deductibles sits at $0 with “Add loan + expenses to see deductibles”, and Cash-on-cash reads “Add rent, expenses, and loan to compute” — both fill in as you work through the remaining steps.
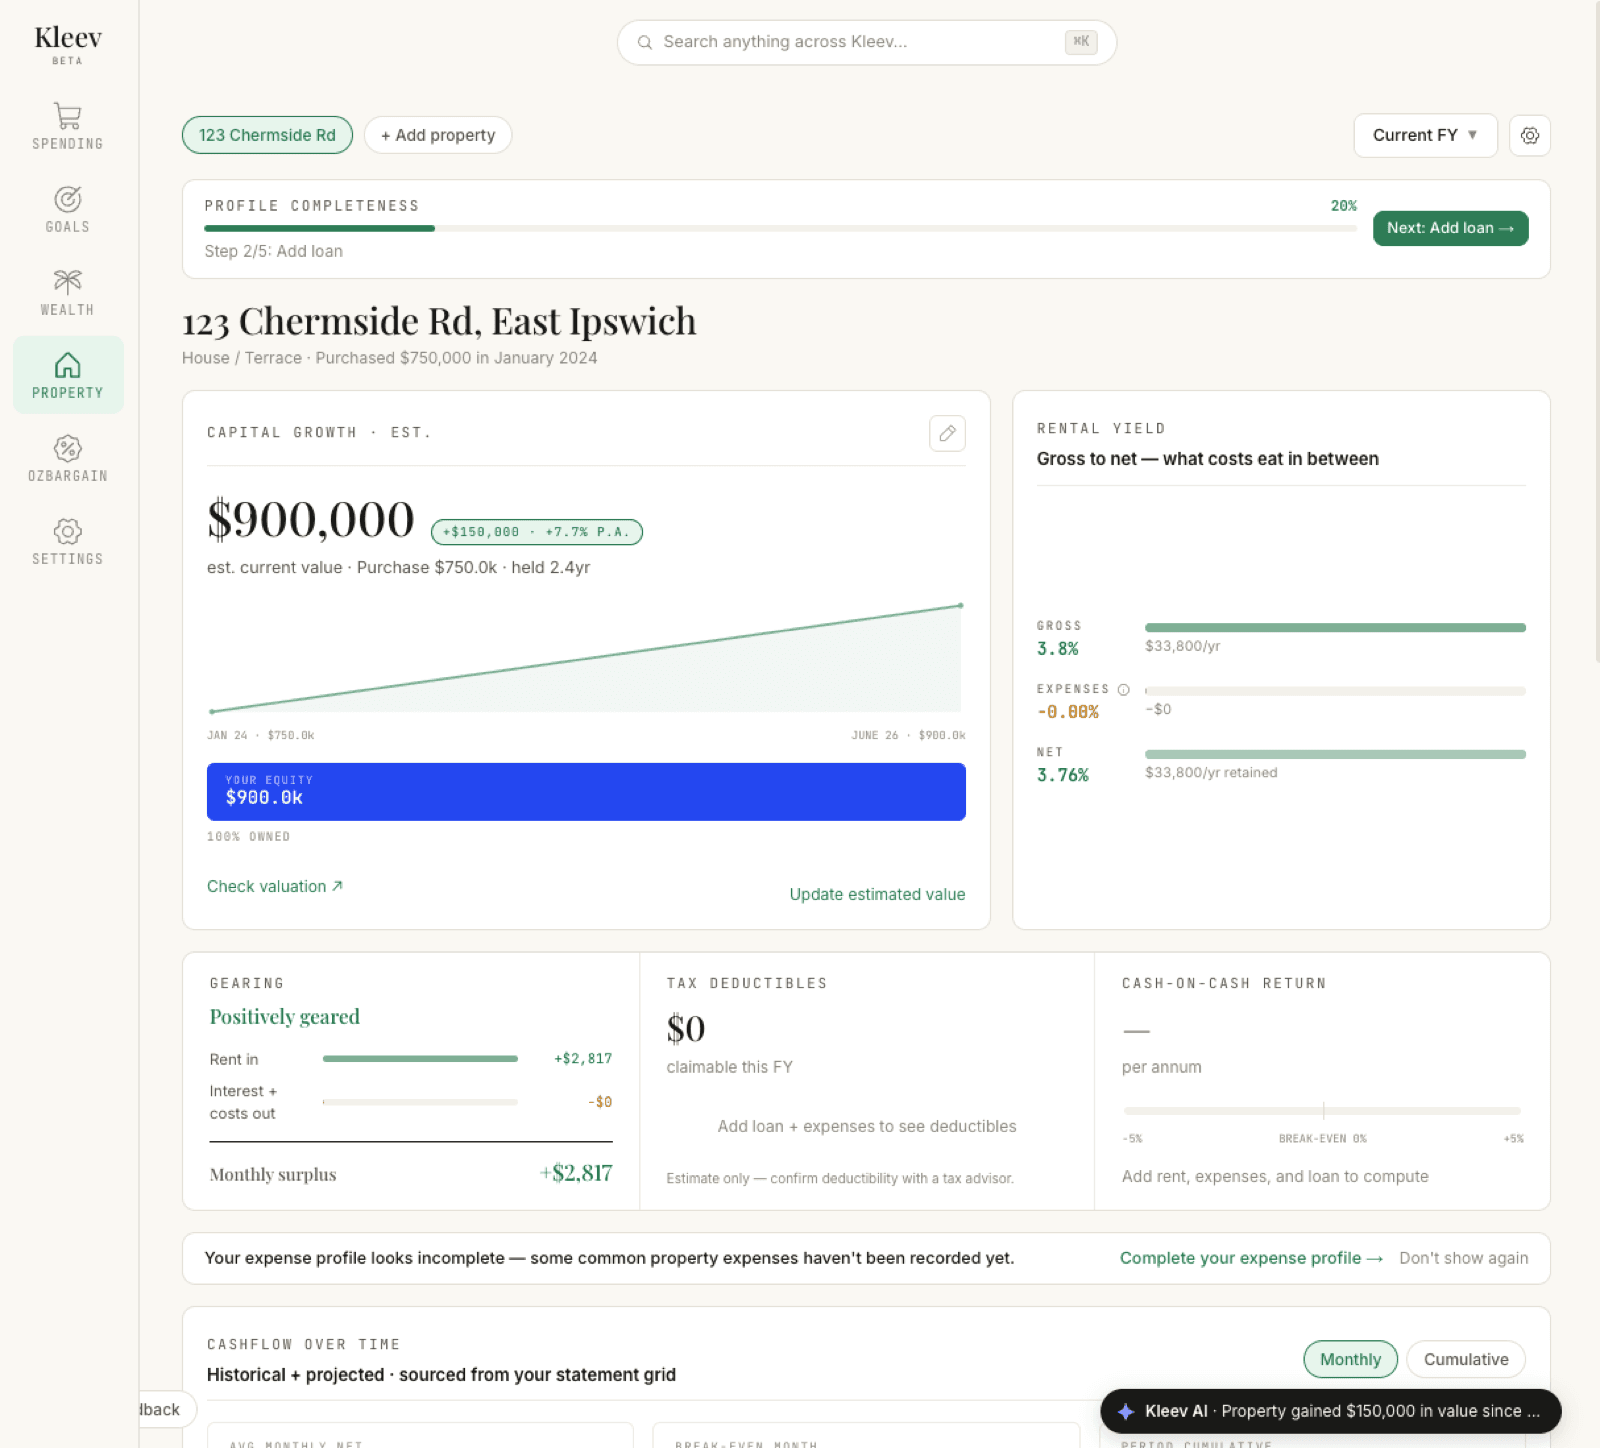
The loan is what unlocks the rest — equity that reflects what you actually owe, deductible interest, and true cashflow. That’s the next guide in this series: Loans & offset, linked below.